How to Set Up Your Smart Lighting Effectively
Key Takeaways
- Choose compatible smart lighting products for your home.
- Utilize a smart hub for centralized control.
- Install bulbs as instructed for optimal performance.
- Customize your lighting settings through mobile apps.
- Integrate voice control for convenient operation.
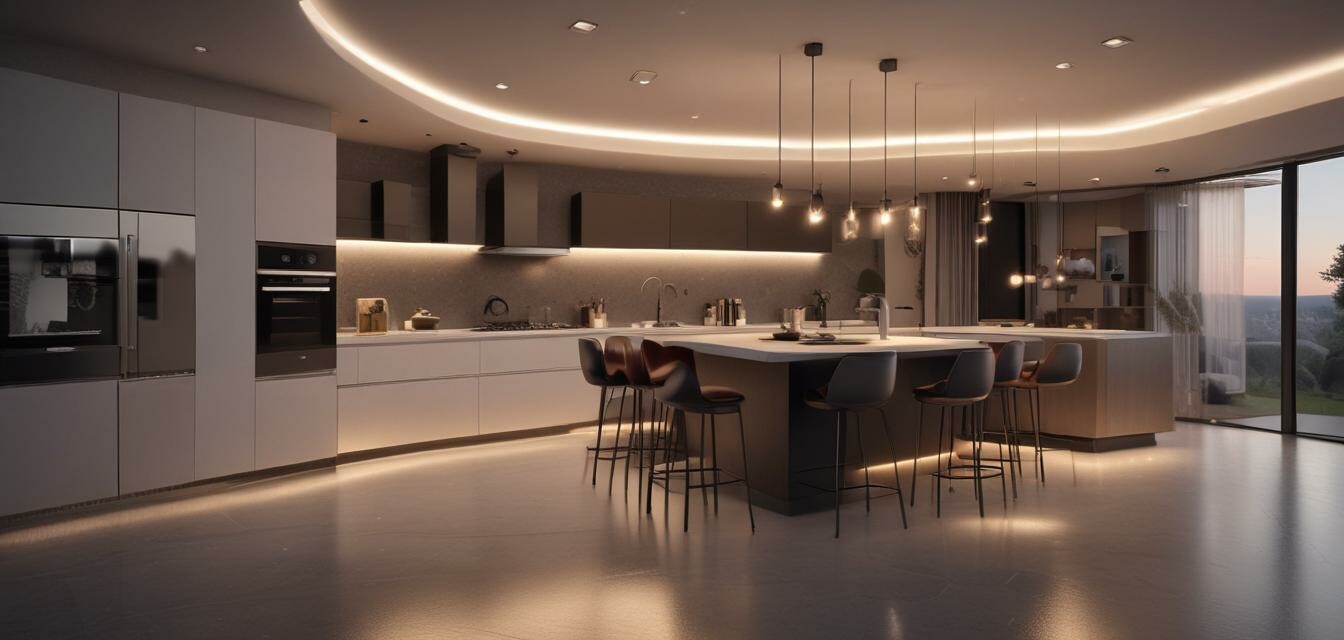
Smart lighting not only enhances the ambiance of your home but also introduces convenience and energy efficiency. Setting up your smart lighting system can seem daunting, but this guide will walk you through every step for a successful installation. From selecting the right products to configuring them for optimal use, we’ve got you covered.
Step 1: Choose the Right Smart Lighting Products
Start your journey by selecting suitable smart lighting options that fit both your needs and aesthetic preferences. Here are some popular products you may consider:
| Product Name | Features | Where to Buy |
|---|---|---|
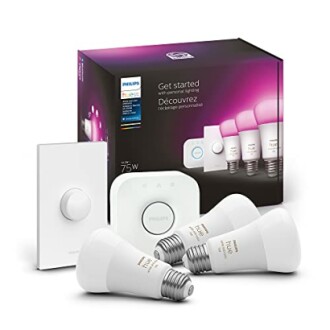
| Philips Hue Smart Light Starter Kit | Dimmable, Color changing, Voice Control | Learn More |
Step 2: Set Up a Smart Hub
For a seamless experience, consider using a smart hub. A hub allows you to manage all your smart devices in one place. It can connect to various brands and types of smart devices, making it easy to control your home environment.
Popular Smart Hubs
- Amazon Echo
- Google Nest Hub
- Samsung SmartThings Hub
Step 3: Install Your Smart Bulbs
Follow these simple installation guidelines:
- Turn off the power to the light fixture.
- Replace your standard bulbs with smart bulbs.
- Turn the power back on.
- Follow the instructions in the app to connect to your new bulbs.
Step 4: Configure Your Lighting Settings
After installation, you can customize your settings through the compatible mobile app. This might include:
- Adjusting brightness levels
- Selecting color temperatures
- Setting schedules for when lights turn on/off
- Creating scenes for different occasions
Step 5: Integrate Voice Control
Voice control can add an extra layer of convenience to your smart lighting system. To set this up:
- Link your smart lighting app to your voice assistant (Alexa, Google Assistant, etc.).
- Follow the prompts in the app to enable voice control.
- Test voice commands to ensure everything is configured correctly.
Philips Hue Smart Light Starter Kit
Enjoy customizable light with the Hue Smart Light Starter Kit, featuring color-changing bulbs and easy integration with voice assistants.
Explore NowStep 6: Troubleshoot Common Issues
Every once in a while, you may experience issues with your smart lighting system. Here are some common problems and solutions:
| Issue | Solution |
|---|---|
| Lights not responding | Check the power and Wi-Fi connections. |
| App fails to recognize bulbs | Ensure bulbs are powered on. Restart the app. |
| Color not displaying correctly | Reset the bulb and try reconnecting. |
Additional Resources
For more detailed information on smart lighting and products, you can visit the following resources:
- Smart Lighting Systems
- Smart Home Hubs
- Smart Security Cameras
- Smart Appliances
- Smart Home Entertainment
Conclusion
Setting up your smart lighting system can greatly enhance your living environment. By following the steps outlined in this guide, you can create a connected and personalized ambiance tailored to your preferences. Remember to always refer back to your manufacturer's guidelines for the best results.
Tips for Beginners
- Make sure your smart lights are compatible with your home’s current wiring.
- Take time to explore different apps and their features.
- Consider starting with a small setup before expanding your smart home ecosystem.


